May 20, 2011

Orange Glow

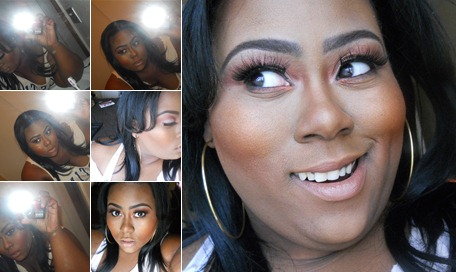
I absolutely love this look… I felt sooo pretty, lol.  

I had a few products around that I hadn’t used so I thought that was cause enough for a tutorial… I wanted the main focus to be the glow of the look.  I normally wear mattes with a slight shimmer but never this much, however after creating this I will definitely incorporate more shimmer into my looks. 


May 1, 2011

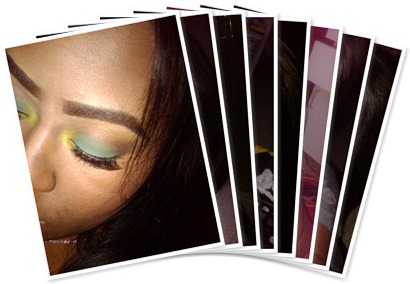
Color of the Day: GREEN


absolutely love this look, its what I call “understated color”.  Having the colors only on the lid is too cute and very wearable even if you’re the type that doesn’t “do” color. I used MAC’s Eye Popping Eyeshadow (from the C-shock collection). in the inner corner (you can used any lime green).  I then used MAC’s Newly Minted on the rest of the lid, this is the most beautiful sea foam green.  I gush over this color, there are several other company’s who carry similar colors however, I have not been able to find a drug store label that has a similar color pay off.  In the crease I used a matte brown and blended that to the highlight and I think I used Highlight by NYX.  To complete the look I used MAC’s Just Superb Creamsheen Gloss (you can use any type of pink gloss) and that topped off the look.

Gettin' out for a min…

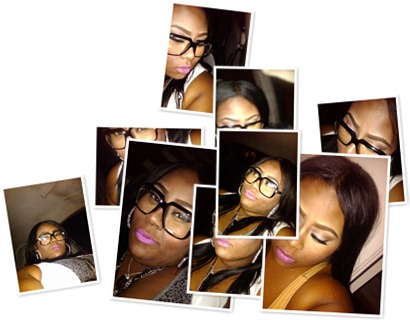
Something a little neutral with a pop of color on the lips.  For my lid base I Used MAC’s Painterly Paint Pot. My lid color is a mix of MAC’s Patina Eyeshadow and Naked Pigment. In my crease I used MAC’s Texture Eyeshadow to blend and MAC’S Embark Eyeshadow to intensify the crease.  I used MAC’s Vanilla Pigment on my brow as a highlight.

All of these colors are totally dupe-able (lol, is that a word?!) I have a L.A. Colors palette somewhere around here that has colors that can replace each mentioned and I got that at the hair store for $3.00. Basically all you need is 3 maybe 4 colors, a light creamy white, a medium tan/brown, a true brown and the optional shimmery duo-chrome pink to use as a highlight but you can definitely use the creamy white instead. 


I’M LIVIN’ FOR THE LIPS

Released in MAC’s Quite Cure collection this electric pink is crazy, Candy Yum-yum, is my new favorite hot pink lippie.  If I could I would wear this brilliant color everyday, I honestly think that this color would work on anyone.  I’m working on a concept for a photo-shoot and you know this will make an appearance somewhere lol. So I decided to mute everything else on my face in order for this to make my lips the statement.

April 21, 2011

Beautiful Brows


Beautiful Brows Tutorial
I tried to show what products I used while I filmed.  I started of by priming my eyes and brows with a primer, I used L'Oreal Decrease but I don’t recommend that for long wear, I use that when I’m just making a video.  Basically what you want to do and you can use any products but you want to fill-in or create your brow.  Set that with a powder, remember if you have darker hair you can use a brown pencil to fill but the powder you are using to set will only intensify the color of the pencil, so just keep a light hand and tap your brush to get rid of any excess powder.  Brown brows with JET BLACK hair is not a good look for anyone lol.  Try to keep it as neat as possible but you will clean up the shape with concealer.  The look determines the color of concealer I use, if I know that my highlight needs to stand out and have a lighter tone then I will use a light concealer to aide in the color pay off, but if I’m going for a everyday natural (the “no makeup” makeup look) then I go for concealer closer to my complexion.  THE METHOD IS NOT THAT DIFFICULT BUT FOR ME ITS ALL ABOUT THE OUTCOME SO I USE DIFFERENT PRODUCTS THAT WILL ENSURE THE RESULTS I WANT. Once you have your concealer just take a concealer brush or an angled synthetic brush and just outline your brow, top and bottom, this is where your blending skills is key.  if you are using a lighter concealer make sure you blend the edges so you won’t see the difference in color (concealer and foundation), but if you’re not quite there with your blending, on the top brow just use a concealer that is your complexion and VOILA…. beautiful brows!!!!!!!!

April 20, 2011

Failed Spring Tutorial

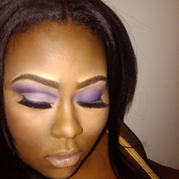
 This was supposed to be my First Tutorial but that didn’t pan out at all lol.  Inspired by spring time, I love beautiful lilac and lavenders shades especially for this time of year.  As stated earlier this was to be filmed but my lighting was horrible but my pics came out fine,  One traditional smokey eye and a more dramatic cut crease look on the other.  Enjoy!!!!

how to get the look


1. Starting off with a primed eye.

I used Two Faced Shadow Insurance followed by Nyx Jumbo eye Pencil in White.

you can use anything you want, we’re just preventing creasing and giving the colors something to adhere to and help stand out.


2. Shadow time!!!!

Let’s start with the left eye (cut crease), for the lid I used Tulipano by Tokidoki.  Basically a matte light lilac with little to no shimmer.  After that I went back over the lid with purple Haze by E.G. Minerals.


Next I carved out my crease with a purple eye liner, I think I used Styli-Style liner in 130 Deep Purple.  After drawing that line I took a small brush and blended out the top of the line, we still want the bottom of the line to be crisp so try controlling your stroke lol.


I applied three colors for the crease action.  I used Purple by L.A. Colors Mineral Eyeshadow (a medium pinky-purple) for my basic crease blending color.  I used a doe foot shaped paint brush to ensure my color didn’t spread more than I wanted.  Now concentrating on the bottom line of the crease, I took Nancy Rocks by Tokidoki (a deeper matte purple)  and drew over the line to darken the line.  after blending that out I lost some color so I went in with Shadowy Lady by Mac (a blackish plum) and repeated that step.

my Highlight color is Highlight (a creamy beige) by NYX.


Moving over to the right eye, the traditional smokey eye.  I used the same products just applied them differently.


With some colors, its easier for me to do some thing out of order to get the color gradiation I like,


I started with my highlight I took Tulipano by Tokidoki and Highlight by NYX applied it under my brow.


Moving to the lid, I started with Purple by L.A. Colors Mineral Eyeshadow, packed that one with a flat shadow brush then blended that out with a crease brush.  In the Crease I applied African violet by E.G. Minerals (a light blue-ish purple) with a blending brush and that’s pretty much it. 


the thing with smokey eyes is all about the blending.  Now if you look at my pics I over-blended my crease, you can see that in different lighting but in natural light it looked ok, with that being said if you don’t intend on taking pics for the purpose of a tutorial lol, then you will be fine…


3. Lined with a black eyeliner and some fab lashes that look is complete.
 

Pages